
HOW TO: Circle Stepper Card
Today we have a fun project to share with you - a Nautical Circle Stepper Card, using our free template and the TEXT{ures} Deep Blue Collection. This unique take on a stepper card is guaranteed to impress your loved ones!
Today we have a fun project to share with you - a Nautical Circle Stepper Card, using our free template and the TEXT{ures} Deep Blue Collection. This unique take on a stepper card is guaranteed to impress your loved ones!
Scroll down to download your template and watch the full video tutorial with Lou!

Materials You'll Need:
- Cardstock (white and coloured)
- Spray adhesive or glue
- Scissors
- Paper trimmer with scoring blade
- Creative Craft Products Glue
- TEXT{ures} Deep Blue Collection (patterned paper, wave die, sea creature dies)
- Sentiment die or stamp
- Embossing powder (white)
- Heat tool
- Die-cutting machine
Step 1: Preparing the Card Base Start by printing or drawing the Circle Stepper Card template onto your white cardstock. Cut out the template and use spray adhesive or glue to attach it to another piece of cardstock. This adds sturdiness to your card base. Carefully cut along the lines of the template to create the base of your Circle Stepper Card.

Step 2: Scoring and Folding Using a paper trimmer with a scoring blade, score along the designated lines on your card base. Follow the guide for both mountain and valley folds. These scored lines will allow your card to fold into its unique shape.
Step 3: Adding Patterned Paper Select a patterned paper from the TEXT{ures} Deep Blue Collection to decorate your card. Cut out pieces that will cover the various sections of your card. Adhere the patterned paper to the card base using your preferred adhesive.
Step 4: Crafting the Wave Use the wave die from the collection to create a dynamic wave element for your card. Carefully glue the wave onto the card, ensuring that it lines up with the curved edges. Trim any excess as needed.

Step 5: Adding Sea Creatures Time to bring some underwater magic to your card! Choose sea creature dies from the collection and layer them for a fantastic effect. Glue the sea creatures onto the card, positioning them around the wave for a fun touch!
Step 6: Crafting a Sentiment Emboss the sentiment onto black cardstock using white embossing powder and a heat tool. Die-cut or trim the sentiment and attach it to your card using adhesive.
Step 7: Final Touches Review your card and make any adjustments to ensure all elements are securely attached. Double-check that your sea creatures, wave, and sentiment are positioned just the way you like them!
Cardmaking is all about adding your personal touch, so get creative with colours, patterns, and additional embellishments!
Download your free template here:
Watch the full stepper card video here:
Recent Posts
-

How To Hot Foil with Justine Hovey: A Step-by-Step Guide to the art of Hot Foiling
Today we're talking about hot foiling using the innovative Glimmer Hot Foil Machine This guide will help you master hot foiling from the moment your machine arrives. -
 Categories: All
Spotlight Stamping with a TWIST!
In this tutorial Lou is going to show you how to create a fun and artsy card with a unique twist on the spotlight technique. This project is quick, simple, and has a surprise element that I think you'll love. -
 Categories: All
New Made To Surprise "Frame It" Collection
New Frame It Collection from made To Surprise -
 Categories: AllFree Download
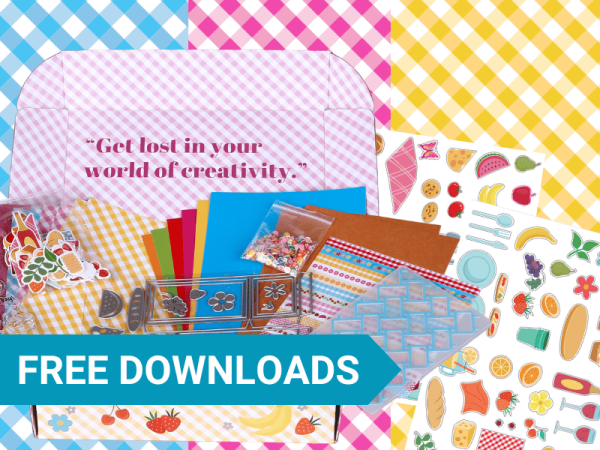
Made To Surprise Papercraft Society Free Downloads
Free Made To Surprise Papercraft Society Box Downloads! -


